Saturday, August 27, 2011

The Fun Part

My husband and I both really love the design decision part of renovation. Once we selected the tiles we loved for the backsplash, we had to create the detailed design so that we could measure how much to order. When ordering custom-made tiles, you really can't make a mistake and come up short. You want a little left over at the end, but not too much. At the cost of these tiles, you can't afford to pay for a lot of tile you can never use.

So, we got started. With color palette and tile dimensions at hand, we began to put drawings together so we could see our designs. It still takes a little imagination, but this process of drawing out our designs has really helped us agree and make good decisions. It is an advantage that we have. Alan has become quite skilled at Illustrator and he prefers this software over all the other options. I used to be able to operate Illustrator, but it has been a long time. So, here is another good example of where our skill sets work together well.

Here is the chronology of our designs:

The bar area is where we knew we wanted the sticks. The other areas were more up in the air to us in terms of design. We never considered all sticks because it is too much of a good thing and as the cabinets were different in the other parts of the room, the backsplash really needed to support that.
At first, we did not attribute accurate colors, but focused on tile size. This design featured 4 x 4 tiles at the bottom and subway on the top with dark raised pencil separating the two all the way around the bottom. Then, we thought small squares in the same randomly distributed color palette as the sticks would surround the pot-filler, demonstrated here by a simple dot, framed by the same dark raised pencil.
We also considered making a frame with the pencils and the small squares instead of filling the field completely around the pot-filler. Then, in the center, we put more 4 x 4s on a diagonal.

It appeared that a thinner frame of the little squares would be better balanced.
At this point, we moved forward with an estimate. As is always the case, that is an enlightening activity. We knew this tile would be expensive and we had some per square foot pricing on the sticks and the subway tiles, but when we got the estimate we were astounded by how much of the cost was driven by the dark, raised pencil borders. Yikes. Just those were $1,000. We were able to do these cool tiles because we basically traded the installation cost toward the tile purchase and would install ourselves. As I've mentioned before I'm the only person I know that will work for me for free, well, except for Alan.

So, we didn't think all that pencil border was worth the cost, so back to the drawing board, literally.

We considered just removing the pencil border at the top of the 4 x 4s.
Then, we thought maybe if those 4 x 4s were in the dark color instead.
Then, we looked at using the sticks instead of the little squares and how could those be used for a border.

We were liking the sticks framing the pot-filler and tried that with the dark tiles at the bottom.

Then we thought maybe the stick border could be placed differently.
Then, we wondered what it would look like if the bar side had the dark 4 x 4 border at the bottom.
We ultimately decided that the dark 4 x 4 square border at the bottom would look too much the look you'd get from laminate countertops since our counter top was the Tropical Brown granite. That would defeat the purpose of doing the better materials. We also thought repeating the sticks over the range would bring continuity to the design. We also determined that the subway tiles could just fill the whole field and that no additional border really improved the design.

Then, it is subtle, but if you look at this last design and scroll up to an earlier version you will also notice that we determined we had to move the location of the pot-filler. It was too high. This involved some additional plumbing work, but it wasn't that much and Alan could do himself. Absolutely worth it. When you have an eye for design, those little issues of scale, proportion, and things lining up like they should will drive you nuts if you don't take the time and spend the money to do it right. I always consider the cost of those adjustments in terms of percentage rather than raw dollars. If you need to spend less than 5% of the total cost of the item, in this case the entire tile backsplash, then why wouldn't you make it right?

We ordered the tile, which now cost much less than the first estimate, and waited 12 weeks to get it. But, I won't make you wait that long. Here is how the installation went:

Stick tiles were very cool! Couldn't wait to install.

Raised pencil border tile was worth the splurge.

Subway tiles were also fabulous. Love the watercolor and crackle finish.

It took us three weekends to install this tile. We started with the sticks and the framed area around the pot-filler.
Sticks turned out great! This is before grouting.

Looking at it from a little further back to see the entire bar area.

We were also very pleased with this design around the pot-filler.

You can see that the pot-filler is now in the perfect position.
Grouted and subway tiles all installed.

Left of the sink subway tiles.

Installing tiles to the right of the sink. The subway tiles were all individual and had to be placed one at a time.
A tip: Wrap the electrical outlets in electrician's tape to cover where the wires are attached. With wet slippery fingers trying to put tiles as close to the box as possible, it is an electrocution waiting to happen. I got zapped once before we did this. Should have done it first.
Finished and grouted to the right of the sink.

So, the tile backsplash was done and we loved it. Next post I'll talk about the great flood and the process of designing and selecting the glass for the glass bar on the peninsula. You will have to wait for the final reveal on the kitchen. But, not for long as we are nearing completion!

Sunday, August 21, 2011

Wash All Your Troubles Away

When the appliances in the kitchen were installed, it was time to install our washer and dryer. We moved our Whirlpool Duet front loaders, which we love, from our old house. So, as this story unfolds keep in mind these units were loaded on a truck, driven over 1700 miles and stored in a facility for 6 months before being installed in our old laundry room configuration.

When demolition began on this project, these units were placed in the garage and covered with tarps. The garage is less than 25 feet from where they were installed and running perfectly.

Construction took much longer than expected, or promised, for that matter. We were without a washer or dryer for a month already when Thanksgiving rolled around. Mercifully, my cousin and his wife offered use of their washer and dryer while we were up at their place for Thanksgiving. So, I did two loads there, which at least got us the important items. Other people probably would have gone to a laundromat. I've never used a public washer and dryer in my life and I wasn't about to now.

So, I couldn't have been more excited when our old favorite washer and dryer were installed in the new laundry room. The room is small, so I wasn't standing in there, but my husband says he saw them test both units and they worked.

I think the truck was still in the driveway when I started doing laundry. Load of wash worked great and then I put it in the dryer. Yep, seemed to work. But, when I went back in to unload, the clothes were still damp. I tried to set it again and the whole thing was dead. In a complete panic, we are calling back the electrician, who couldn't come back for a day or two. Mind you, it is freezing outside, so I am finding all sorts of places to air dry this load of laundry. Thankfully, I didn't start this project with bedspreads. All the electrical checked out, which means we now have to get our dryer repaired. Remember how we started this story? How could this thing be dead after all it had lived through? I was told the garage must have been too damp and the circuit board got ruined from that. Well, the washer has circuit boards. It still worked.

Long story even longer. We got a company to come out and look at the dryer and they determined it needed a new board. So, one was ordered and a few days later installed. The dryer only half worked. So, we called them again and they said it needed the other board replaced (thank God there are only two in the whole thing), but they didn't see why we would spend the money when it did turn on and run. Really? I've got a fancy dryer with all these settings and I'm going to settle for "incinerate" and have to time it myself so the clothes don't burn? Enter new company to finish this job. Second board was ordered and several days later installed. We had our washer and dryer back fully functional, finally.

The good news is that we love the laundry room. Here are some of the finishing steps:

We chose this dark amber glass tile and capped it with an ochre color travertine pencil. This is prior to grouting and you can see that we pulled up the trim piece under the window to make the tile installation easier. We put it back in when grout was dry with construction adhesive.

I'm probably the only person on the planet that would tile behind the washer and dryer, or paint for that matter. But, it just looks better.

Close up on the glass tiles before grout.
The room really turned out great and we are very proud of it. We painted it the same color as our entry hall. Here is the final reveal:


View from the doorway looking in.
Do you wonder what that black hole in the ceiling is? A laundry chute! It occurred to me, apparently months after my husband mentioned already according to him, that the master closet was above and adjacent to the laundry room with attic above the laundry room. It looked like it would work. This was another item that the contractor just couldn't get their head around, so we did ourselves. We considered options to build the chute, which would be very short and have an angle, and we decided on duct work. We had our heating and air guy put it in. Then we ordered a cabinet door that matched our bathroom cabinets and fit the space.


We put the basket for the dry cleaning right below. Either throw it down the chute or into the basket--easy.

We also included a few other features in our laundry room. One is a folding table. It isn't too big, but it does the job. The way we made this work in a small space was to make it the lid to the laundry sorting bags.

Open
Closed
And I needed space for drying items that cannot go in the dryer. We had these in our old laundry room and loved them because they stored flat against the wall.

Open

Closed
We put the shelf in to give more storage and that allowed me to put baskets up there for the hand laundry items. Keeps it neat and clean and leaves all the workspace open and ready to use.

Next post will be about the great flood. Stay tuned.

Monday, August 1, 2011

Christmas Is Coming Too!

My mother used to say this to me every time she called for me and I'd say "I'm coming." It was our little call and response ritual. "Christmas is coming too!" was yelled down the hall back at me. Well we were calling for our appliances to be installed so we did not have to eat at a Chinese restaurant on Christmas. And, it was getting perilously close to Christmas Day. But, just in the nick of time, I guess the St. Nick of time, our appliances were delivered with a few days to spare.

Now, I was still annoyed that our ceiling and walls were still not yet smooth enough for priming, but at least I could cook a meal for the first time in months.

New range. Pancakes would be one of the first dishes I would prepare using that griddle. The griddle makes it so easy to get them cooked quickly.

From left to right: ice machine, microwave, oven, warming drawer, and refrigerator. Notice how the cabinet is missing over the refrigerator. It was too tall, so the bottom was lower than the top of the refrigerator. New one had to be ordered.

Countertop for island was also installed. Note dishwasher to the right of the sink. Not really worth taking a photo of, but that is what they look like before the cabinet door panel is installed. And, turns out, that would take months as the first one ordered was a different color than the rest of the doors and had to be reordered.
So, not fancy, but we had pan-seared chicken for our first meal cooked in our new, partially complete, kitchen. That is our favorite kitchen gadget I'm using, the Thermapen. It is an instant read thermometer. Indispensable. And, you'll note the chicken is ready to take out of the pan at 138 degrees. Tent with foil and it will carryover cook over the next 5 minutes to the perfect 140 degrees.

That wire hanging down is for the under cabinet lights. There was a problem with the quantity ordered on the panels that go underneath the cabinets. I do not like the look of the underside of cabinets that are semi-custom, so I always specify thin panels be installed under to give a completely finished look. We had to wait for the additional quantity to come in and it didn't come in right the first time, so an even longer wait.

Even though I had taken time off to do the painting in the kitchen, it was not to be. We were into January and the ceiling and walls were still not smooth enough. So, I ended up doing it on nights and weekends. And we really didn't take any photos. I thought we had enough pictures of me painting. Plus, we were annoyed. You just don't want to capture that for posterity.

We worked on a few elements over the time I was priming and painting the trim work and the walls. One was the backsplash tile selection. We waited until the cabinets and countertops were in place to begin this process. Here is a look at some of our choices:


In our old house, we had a tumble marble backsplash and we liked it. So, we considered it for this kitchen. But, it just didn't feel "new" enough and our new kitchen had just a little more modern style. So, old Tuscan just didn't fit.


One element we knew we wanted right from the start was something flashy for the bar area, which is to the left of the microwave/oven combo unit. And I knew it had to be the "sticks" tile design in that space. We tried above sample, but it was just too busy and too much veining in it against the very veined countertop it would be above.


Then, we went to Artistic Tile. Funny, I hadn't heard of it until I was sitting next to their marketing director at a fundraiser dinner. So, we went there as part of our research. We saw this pattern above and knew it would be perfect. Plus, you could select the tiles used in the pattern from a palette of over 100 different colors and glazing techniques. They had me at "pick your own colors". The small squares were something we considered for use behind the range around the pot filler.


We brought home several samples of tiles and put this palette together to make the sticks design.

This close-up makes it easier to see the color and texture. We mixed watercolor crackle finish tiles with pearlescent and metallic tiles. This is my favorite part of any project. If I could just do this part, specify all the design details, and then leave and come back to find it all finished to my standards, I'd be happy. But, that is impossible, so I have to endure the parts I dislike as well.
I also selected a lighter shade of the green color in a subway pattern for the rest of the backsplash on the other side of the kitchen. I've seen many kitchens where they do the dramatic sticks all the way around and I think it looks way too busy, plus it diminishes the impact of the sticks. Alan wasn't sure about all that ceramic tile. He was concerned it would look too much like a bathroom. So, we went back to Artistic Tile and looked for other options. Here was the selection of choices:


The one on the far right was my original selection, but in the subway shape. You can see the paint swatches I was considering for the walls next to this tile sample. I really didn't like any of the other choices, and neither did Alan, so he took a leap of faith and left this decision to me. Next post I'll show the designs we considered using this tile and the dramatic impact the design had on price.

Another feature we finished up while waiting for some the replacement cabinets to come in was the interior lights on the glass front cabinets.

We picked glass doors with some drama and copper caming.
You'll note I had the walls primed and painted some color samples here and there on the walls so I could see what my choice looked like against both types of cabinets in the room. Also, that allowed me to view the sample swatches throughout the day in different light conditions.

We like our glass cabinets to be illuminated. It really adds drama to the room at night. Alan is quite the artist with lighting. This is where our teamwork really pays off. I know what looks good, but don't know how to do it. He knows both. So, he did some research since there are always new products and found these very cool LED light strips. You can see below they are about the width of Scotch tape. These can be found at ElementalLED.

Tiny, flexible strips of LED lights can be cut to length at marked locations every 4 inches.

They fit perfectly in between the inside of the cabinet and the front of the shelves. They come in different temperatures of color, so you can even select the type of "white" you want. We went with "warm" white.

You cannot see them even when you open the cabinet door and they provide a continuous even light throughout the cabinet. The only other way to get close to this light distribution would be to install glass shelves so the lights at the top would punch through the glass. With these strips, we could use the wood shelves. Plus it makes cool little sparkles on all of your glasses.

Pretty cool! Note, still no crown moulding on the cabinets. Ugh!
Then, we also ordered some furniture. We were tired of the formality of the dining room for every meal and started a bad habit of eating in the family room in front of the TV.


We put in a contemporary table and chairs to seat four and to make it fit put the table against the wall. This leaves plenty of room to walk in between the bar seats and the table seats to get to the sliding glass door. We also chose a contemporary barrel shade light fixture for this table. At some point I am going to reupholster the chairs, but I still haven't found the right fabric, or someone to do the work.

The bar chairs are situated where the glass bar will go. I'll show that long process on another post. It was one of the last elements to get completed in this kitchen.


This is the view towards the pantry. Most of the trim work is painted at this point and the ceiling is done as well. Walls are primed, but I still hadn't finalized the paint color selection when the furniture was put in place. And, still no crown moulding on the cabinets. That issue went on for months.

The winter dragged along throughout these steps. We had our first snowfall the day after Christmas and didn't see the grass again until April. Getting the contractor to come in and do things to get this finished up was like pulling teeth. We did as much as we could ourselves to keep the project moving, but in some cases we really had to have licensed electricians or plumbers to do some of the installation.

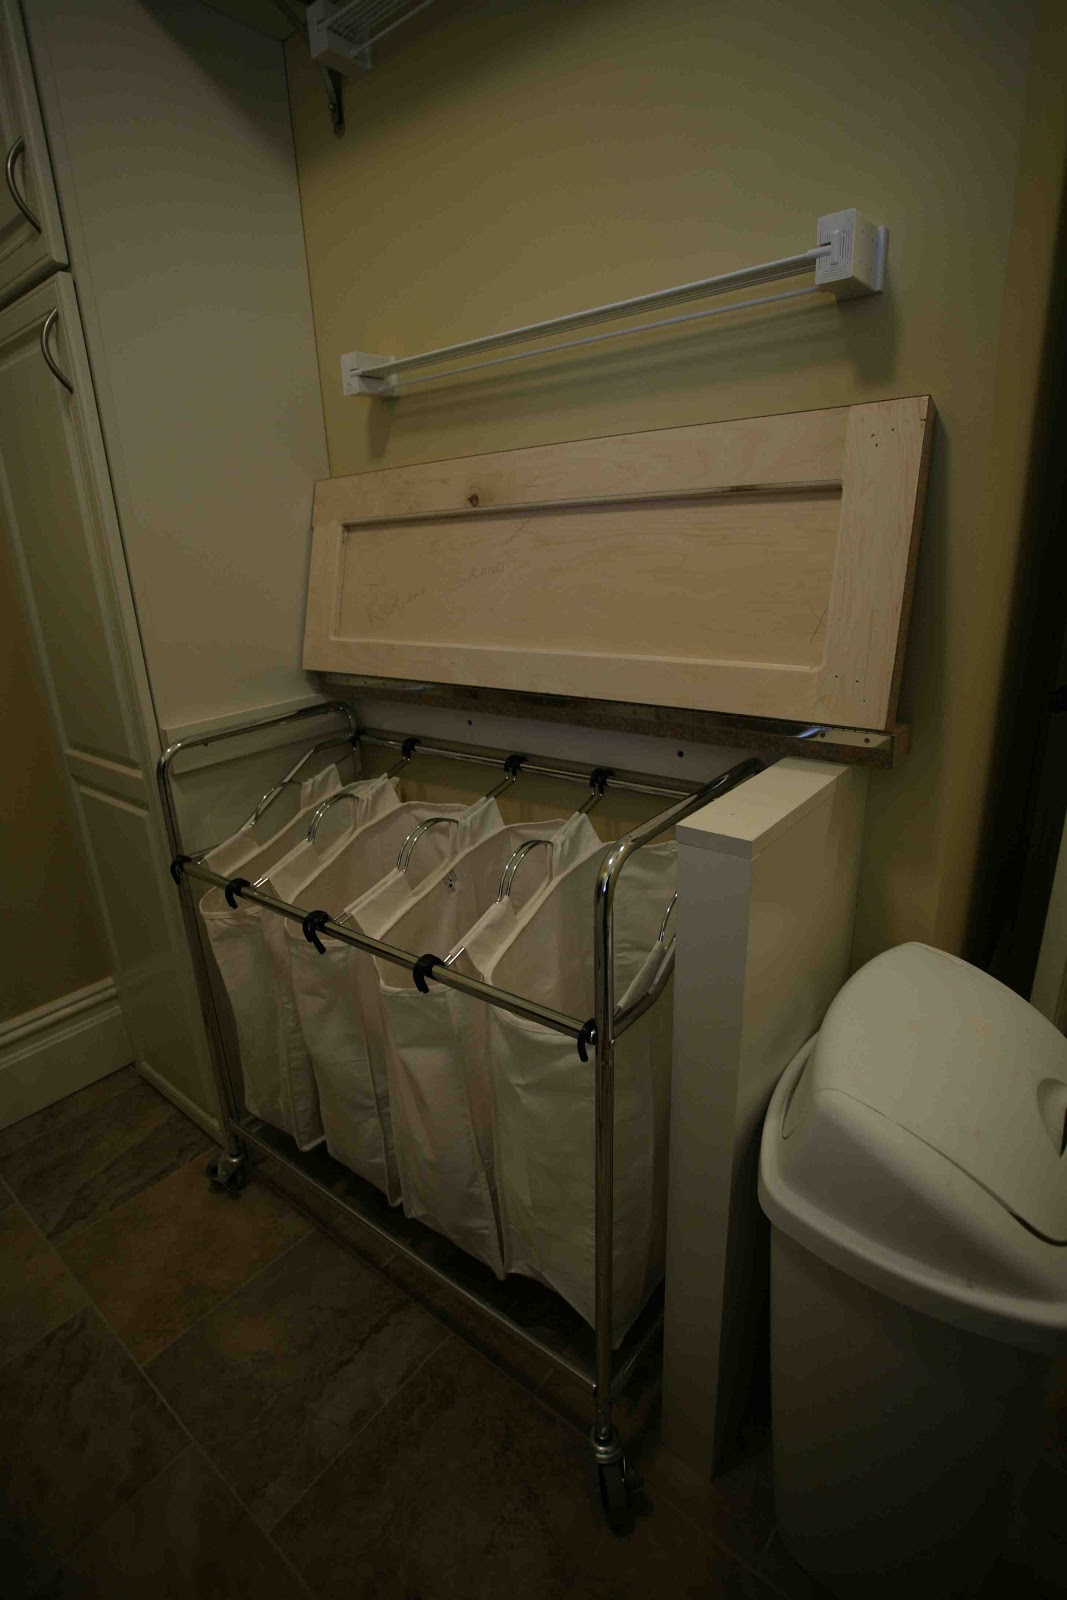
Next post I'll chronicle the finishing of the laundry room and the dryer issues we had. Then of course you don't want to miss the story about the flood caused by the new kitchen faucet installation. Good times!